Learn how to share the joy of Inside Flow as an Inside Flow Teacher Online Training starts: Oct 05, 2024 More information

    Quick Facts

  • Sanskrit (Original): Vasiṣṭhāsana
  • Etymology: Sage, best, or richest (vasiṣṭha), pose (āsana)
  • Fun Fact about the pose: Side Plank pose is simple, but certainly not easy.
  • Asana Type: Arm Balance
  • Main length muscle groups: muscles_length_muscle_groups
  • Main strength muscle groups: Spinal flexors and extensors; top side: external oblique, bottom side: internal oblique, quadratus lumborum; serratus anterior, rotator cuff, deltoid, triceps brachii, pronator quadratus, pronator teres, muscles of the wrists and hands; hamstrings, adductor magnus, gluteus maximus, articularis genu, vastii; muscles of the foot
  • Vinyasa Breath: Inhale

How to Cue the Pose: Step By Step

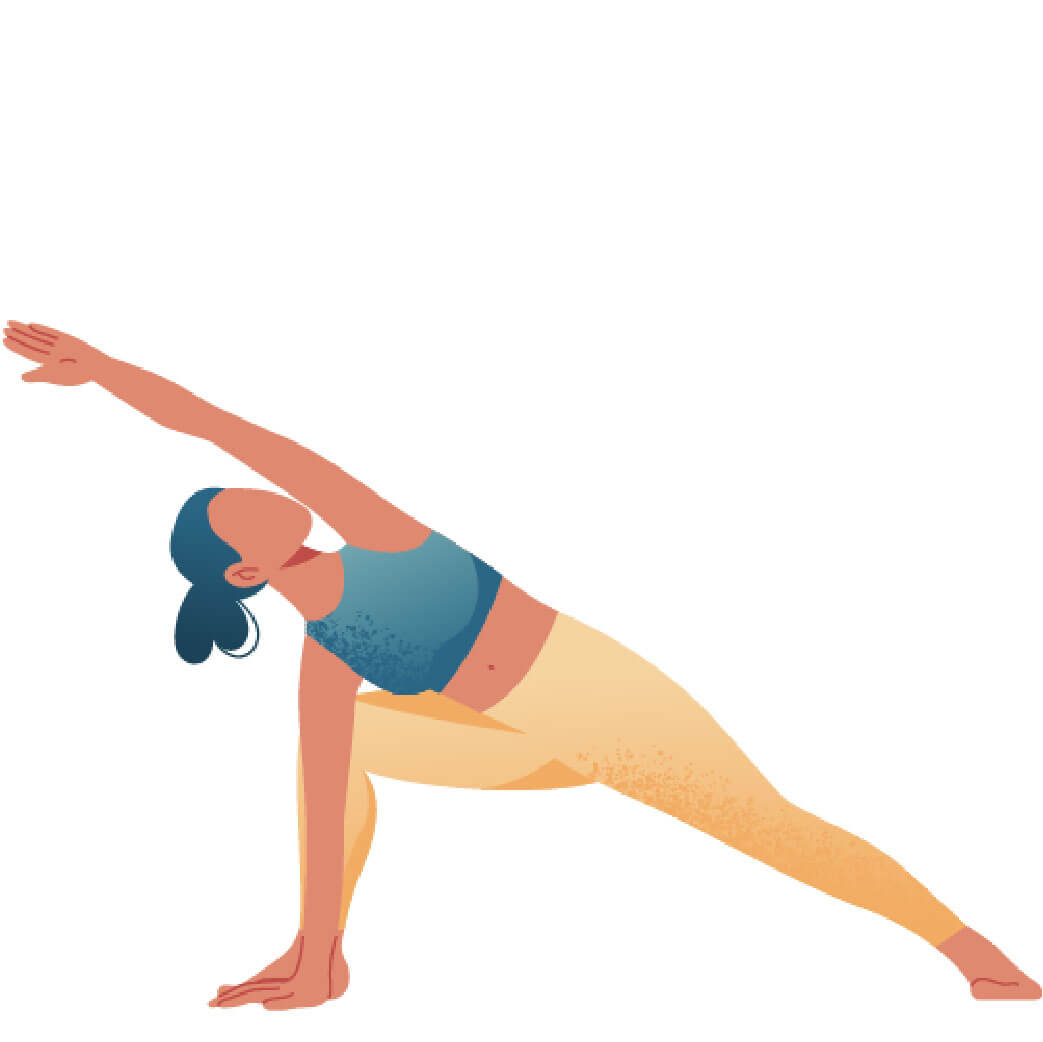
  • 1 Start in High Plank Pose (Phalakasana) with the hands underneath the shoulders and the entire body engaged.
  • 2 Turn both heels to one side.
  • 3 To set up the pose gradually, step the top foot in front of you onto the mat and place the top hand onto the top hip.
  • 4 Push the mat away from you with your bottom hand and lift the buttocks higher.
  • 5 Push the inner edge and the big toe (if possible) of the bottom foot toward the ground to lift your buttocks even higher.
  • 6 Engage your core muscles by drawing the navel in and up with an inhale.
  • 7 Lift the top leg up and either stack it on top of the bottom foot so that both legs are in one line or lift the top knee even higher and extend the leg upwards.
  • 8 Straighten the top arm up to the ceiling as well.
  • 9 Keep the core and the legs engaged and turn your chest so that it faces to the side rather than to the floor.
  • 10 Keep your neck neutral by looking straight ahead or down toward the mat.
  • 11 From Vasisthasana, you can return to Phalakasana or transition further into backbending poses such as Camatkarasana or Patita Tarasana.

Working The Details: Alignment In The Pose

  • Keep the spine neutral: The biggest challenge in Vasisthasana is not the flexibility, but rather to maintain the neutral alignment of the spine against the pull of gravity. Chances are that gravity pulls the body out of alignment if the muscles are not engaged. This results in twisting the spine as the hips fall forward and the shoulders fall back (or vice versa). Apart from that, many practitioners may try to overcome the lack of strength by either lifting the hips too high or letting them drop down. Both cases result in lateral flexion of the spine and, thus, draw the spine out of alignment. This is why you need to keep the core, the arms and the legs engaged to keep the spine in neutral alignment.
  • Push the inner edge of the foot down: In traditional alignment, you would push the outer edge of the bottom foot into the ground and keep the bottom arm vertical. However, this means that most of the bodyweight rests on the bottom arm as you cannot create much power with the bottom foot being on its outer edge. Instead, push the inner edge of the bottom foot toward the ground and allow the bottom arm to leave the vertical line. This way, you can distribute the bodyweight more evenly throughout the body.

Adapting The Pose Through Modifications

Simplify

  • If you feel you haven’t got enough strength (yet) to keep the spine in alignment in Vasisthasana, place either the top foot down in front of you or let the bottom knee rest on the ground.
  • Alternatively, bring the feet apart and, instead of stacking them on top of each other, place them both on the ground.
  • Struggling with strength and balance can be overcome by practicing Vasisthasana against a wall: Instead of pushing the inner edge of the foot into the ground, place both feet onto the wall and push the heels against the wall.

Level Up

  • If you feel super strong, lift up the bottom leg and extend it into the air. Remember to keep the toes of the lifted leg engaged. Also, center your legs and keep your core engaged to resist gravity.
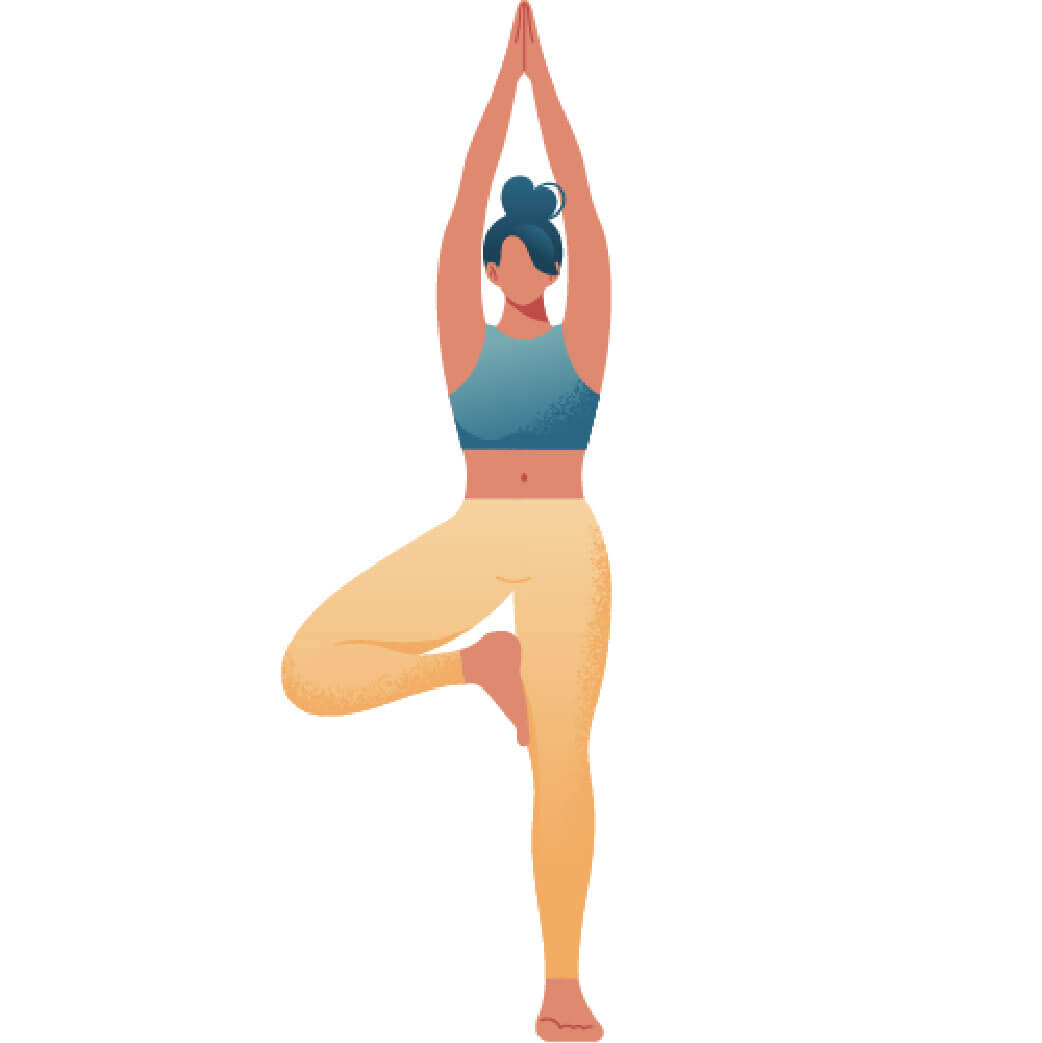
  • You can also rest your top foot on the inside of the bottom thigh so that your body is in a Tree-Pose shape.
  • Bring an additional aspect of flexibility into this pose by extending the top leg toward the sky and taking hold of the big toe with the top hand. This adds a nice stretch for your top leg.
  • Add a little side stretch by extending the top arm over your head with the palm facing down. Pull the fingertips away from you to lengthen the entire top side body.

Benefits of Vasisthasana

  • Side Plank is a great strengthening and lengthening exercise for the obliques: While on the bottom side, the external obliques get a nice stretch and the inner obliques have to work, it’s the exact opposite on the top side. Here, the external obliques are active while the inner obliques are lengthening.
  • As the spinal extensors and flexors have to alternate between concentric and eccentric contraction, this pose also strengthens the back body.
  • Apart from that, Side Plank helps you build strength in the arms, shoulders, and legs.
  • Focusing on the different actions around your spine increases body awareness and trains body intelligence.
  • As you have to focus and stay calm to maintain the pose it also helps you to calm your mind and let go of unnecessary thoughts.
  • Once you have managed to hold Side Plank for a couple of breaths, it leaves you with a great feeling of accomplishment and strength, which certainly boosts your self-confidence and brightens your mood.

Remember that Side Plank is not only a question of strength. Another important factor also is the bodyweight: Heavier practitioners need to hold more weight than more petite students. The latter may be able to hold the pose with ease although they are not necessarily very strong while strong students may be heavier and thus have to work harder to hold their body weight.

Saskia

Content Manager at Inside | Passionate Yoga Teacher

FAQ: Common questions about this pose

The reason for wrist pain probably is that you have too much weight on your bottom hand. The first remedy is to engage the hands (Hasta Bandha) in order to evenly distribute the weight across the hand. The second means is to press the inner edge of the bottom foot down and leave the vertical line of the bottom arm. Pushing the hips further up and engaging the core will also help to evenly distribute the body weight and, thus, reduce the load on the bottom wrist.

In traditional yoga alignment, you will probably see the head turned up so that the gaze is toward the ceiling. This may look cool, but doesn’t have any advantage anatomically. In fact, most practitioners will feel slight compression on the side of the neck they are turning to. This will not be the case if you look straight ahead or even down instead. Keeping the neck neutral and elongated is also much healthier for your cervical spine.

Side Plank requires much more stability in the shoulders, hips, and spine than High Plank. In addition, it counters the habitual position of the shoulders falling forward, which may easily happen in High Plank once strength decreases. Therefore, it's well worth spicing up your yoga practice with some Side Plank variations in lieu of, or in addition to, High Plank.