Quick Facts

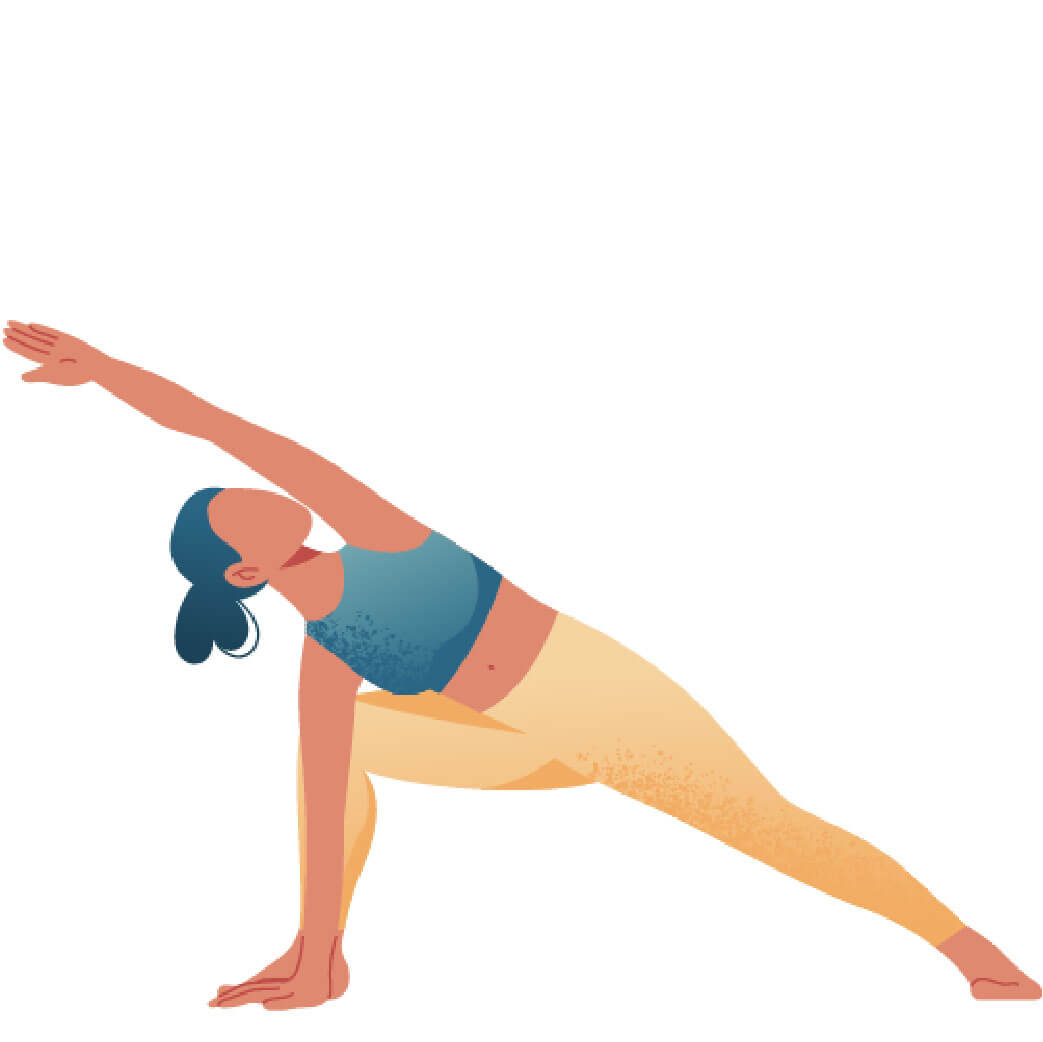
  • Sanskrit (Original): Trikoṇāsana
  • Etymology: Three (tri); angle (koṇa); pose (āsana)
  • Fun Fact about the pose: Can you spot the three angles the pose is named after?
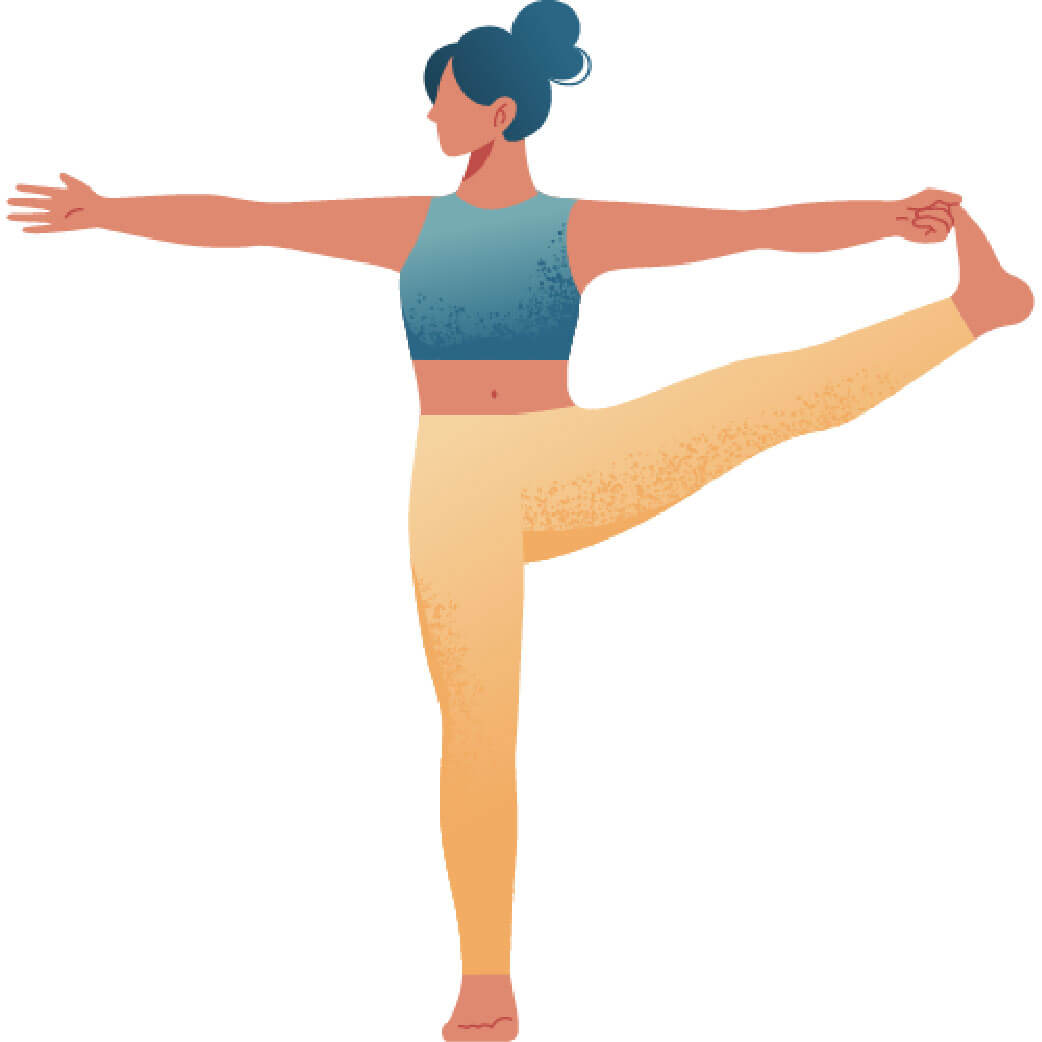
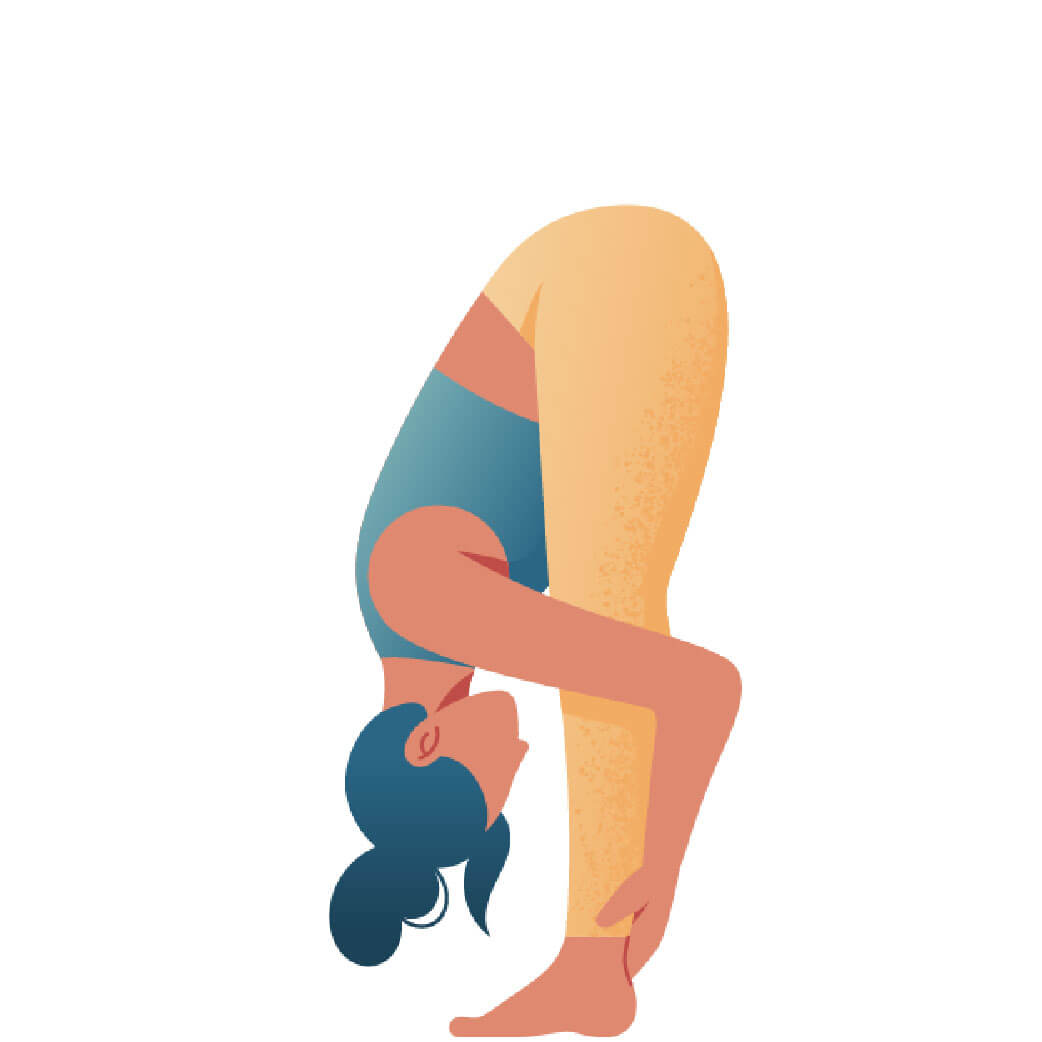
  • Asana Type: Standing
  • Main length muscle groups: muscles_length_muscle_groups
  • Main strength muscle groups: Muscles of the feet, articularis genu, vastii, gracilis, internal and external obliques
  • Vinyasa Breath: Exhale

How to Cue the Pose: Step By Step

  • 1To get into Triangle Pose, take a wide stance and place your front foot with the toes facing directly towards the short end of your mat.
  • 2The foot of the back leg has a similar position as in Warrior II. Start with the foot parallel to the short side of the mat and turn your toes slightly inwards, so that the foot is roughly pointing towards eleven o’clock.
  • 3Have your frontal hip bones and your tummy facing parallel to the long end of your mat.
  • 4Engage your foot and leg muscles. Pull your kneecaps up and straighten your legs. Please beware, if you are prone to hyperextension in the knees, maintain a soft micro-bend in your knees – especially your front knee.
  • 5Extend your arms parallel to the floor, they should create one long line out from your shoulders. Have your palms facing down.
  • 6From this position, lift your ribcage up and away from your hips on an inhale. Extend the sternum first upwards and then back.
  • 7Exhaling, extend your front arm more and more forward, as if you were making yourself really long to reach something. When you feel that you cannot reach any further, place the hand (or fingertips) to the ground on the outside of your front ankle.
  • 8Extend the other arm upward in line with your shoulders, palm facing to the front.
  • 9All the time keep your legs firm and muscles engaged.
  • 10Send your gaze either to the wall in front of you (this would be the direction of your belly and frontal hips) or turn your head to look up to the upper extended arm.
  • 11Finally, extend the crown of your head forward, away from your hips.
  • 12Inhale to lift yourself out of the pose. Switch your legs for the second side.

Working The Details: Alignment In The Pose

  • Ground through the feet: Ground the mounts of your big toes into the floor. Spread out the toes and firm the outer ankles inwards and the inner ankles outwards. Pay special attention to the outer edge of your back foot and press it into the ground. Draw all the energy from your feet up your legs.
  • Open the hips: Roll your upper hip up and backward, so that your anterior iliac spine (this is the hard bony part that you can feel on the front of your hips, just about four fingers below your belly button) lifts up. Rotating your upper ribs up and back will support you with this action, as it creates extra space for the hips to move.
  • Extend the spine: Depending on the articulation of your sacroiliac joint (the joint merging your sacrum to the ilium) you can either work on extending the spine away from your hips or add a bit more of a rotation and twist in your spine to work on extension. The latter is a good option if your hip joints and sacroiliac joints (pelvic halves) are less articulated and the movement is more restricted. By adding the rotation after the extension, you will increase the alignment of your spine creating one line out of the center of your pelvis.
  • Work your core: Find the full activation in your core by transferring all your weight into the feet and legs and by removing almost all of the weight-bearing down into the bottom hand. This will fire up your core muscle to maintain the torso in a sidebending position.
  • Spread your wings: Stack your shoulders on top of each other, suck your humerus (the bone of your upper arm) back into your shoulder joints while simultaneously elongating your arms, hand and fingers away from your center line. You can visualize your arms like the wings of a big bird, opening up or even sinking your awareness into the movement of your skin spreading outwards.

Adapting The Pose Through Modifications

Simplify

  • Place the bottom hand on the shinbone or a block if the floor is out of reach.
  • Make your stance a bit smaller if you feel that there is too much pressure on your knee joints.

Level Up

  • Lift your bottom arm parallel to the floor to fire up your core and work those legs.
  • Extend the top arm alongside the ear, pointing diagonally into the room. Feel your side body extending in one long energetic line starting from your back pinky toe up to your upper pinky finger.

Benefits of Trikonasana

  • Trikonasana is a yoga pose that does not only strengthen the thighs, knees, and ankles, but also increases the flexibility in the groins and hamstrings and improves hip joint mobility.
  • As it is a quite powerful standing pose, it increases stamina and endurance over time.
  • It also is a whole-body stretch lengthening the hips, groins, hamstrings, and calves as well as the shoulders, chest, and spine. At the same time, Trikonasana expands your chest and shoulders, stimulating the lungs to expand more fully.
  • The slight rotation of the spine stimulates the abdominal organs and may thus help your digestion.
  • Trikonasana is a pose that energizes you, improves your balance and focus, and increases concentration.
  • Due to the foot alignment and the engagement of the legs, it also encourages the natural arches in the feet.

Getting into Trikonasana, I always hear the saying of one of my teachers – to envision myself reaching a serving tray full of delicious tea far away from me – before I do the side-bending action.

Saskia

Content Manager at Inside | Passionate Yoga Teacher

FAQ: Common questions about this pose

The first recommendation would be to really push into the outer edge of the foot. Check if your inner ankle is collapsing to the ground, as this will affect the range of motion in your ankle and foot. If so, draw the inner ankle outwards and up. If the issue is still there you could make your stance a bit shorter and practice from here, until one day you will be able to widen your stance more.

The nature of the pose is a very small twist in the spine. In theory, the spine should extend right out of the middle of your pelvis in a straight line. However, for some people the twist is a bit deeper, as they have less movement and articulation in the hips. If you can, keep your spine fairly straight. If you feel that you are compromising other parts (e.g. the opening of the hips) to achieve this, add a deeper twist to the spine. This will also help you to bring your spine more into the center of your hips. Truth is, you can’t – for now. The feeling of being unable to open up the front body is a sign that your body needs to compromise this area in order to bring the hand to the floor. If you imagine triangle pose like a house, then your basement would be the right positioning of the feet and legs. Your second floor, resting upon a solid foundation, would be your torso – so your focus should be to bring your upper body into good alignment after you have sorted out your feet and legs. The least important role in this way of thinking are your hands, as they are the roof of the house, simply resting on the other stories. So use a block or reach for your shin bone when you continue practicing the pose. Work on all stories of the house and over time you will find yourself being able to touch the ground while opening up the upper body at the same time.